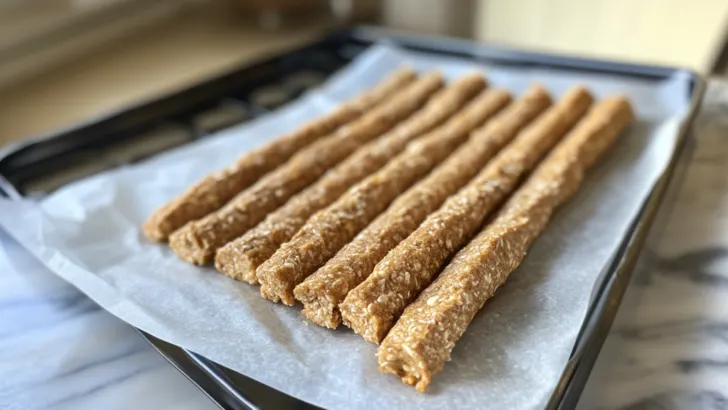
When it comes to pampering your furry friend, nothing beats a homemade treat crafted with love and wholesome ingredients. These Cheesy Chews are a flavorful, satisfying option that will have your dog’s tail wagging with excitement. In this post, we’ll walk you through how to create these chewy treats while exploring how their nutritious value can benefit your pup. Whether you’re a first-time dog treat maker or a seasoned DIY chef, this recipe is sure to become a favorite!
Why Make Homemade Dog Treats?
Making treats for your dog isn’t just about having control over the ingredients—it’s also a heartfelt way to bond with your furry companion. Commercial treats often contain preservatives, artificial colors, and fillers. By creating your own Cheesy Chews, you know exactly what’s going into each bite. Plus, it’s a great way to cater to any specific dietary needs your pet may have. Homemade treats like these chews can help prevent allergic reactions and ensure your dog receives high-quality nutrition.
The Nutritional Power of Cheese in Dog Treats
Cheese isn’t just a tempting flavor enhancer—it also packs a punch when it comes to nutritional benefits. High in protein and essential fatty acids, cheese can provide a great boost of energy for your pet. It’s rich in calcium for strong bones and teeth, while the protein supports muscle strength and tissue repair. However, moderation is key, as cheese is also relatively high in fat. This recipe keeps things balanced to make sure your pup gets the benefits without going overboard on calories.
If your dog loves cheese, you might also want to try our Delicious and Nutritious Oatmeal Cookies for Dogs, which make for a perfect snack companion.
Ingredients You’ll Need for Cheesy Chews
To make these delicious Cheesy Chews, gather the following simple ingredients:
- 2 cups of oat flour (You can grind oats in a food processor to make oat flour)
- 1 cup of shredded low-fat cheese (Cheddar works best for that irresistible cheesy flavor)
- 1 large egg
- 1/3 cup of unsweetened applesauce (acts as a natural binder)
- 1 tablespoon of coconut oil
- 1/4 teaspoon of turmeric (optional but great for anti-inflammatory benefits)
Optional Ingredient Add-Ons:
Feel free to get creative and include add-ins based on your dog’s preferences. Here are a few ideas:
- Chopped parsley for fresh breath
- Ground flaxseed for an extra boost of omega-3 fatty acids
- Pumpkin puree for added fiber and flavor (if you like this idea, consider trying our Pumpkin Pupsicles for Dogs!)
Step-by-Step Instructions to Make Cheesy Chews for Dogs
Step 1: Prepare Your Ingredients
Before you start, ensure that all your ingredients are ready. Preheat your oven to 350°F (175°C) and line a baking sheet with parchment paper. This prevents sticking and makes clean-up a breeze.
Step 2: Mix the Dry Ingredients
In a medium bowl, combine the oat flour and turmeric (if using). Mix thoroughly to evenly distribute the spice. Oat flour provides a nutritious base that is gluten-free, making it easy to digest for dogs with sensitive tummies. Turmeric adds both color and health benefits, as it is known for its anti-inflammatory properties, which can help improve joint health.
Step 3: Incorporate the Wet Ingredients
In a separate bowl, whisk together the egg, unsweetened applesauce, and coconut oil. Once well-combined, add in the shredded cheese. The cheese is the star of this recipe, adding both flavor and nutritional value. Gradually fold the wet mixture into the dry ingredients. Stir until a dough forms—it should be pliable but not too sticky. If it feels too dry, you can add a splash of water.
Step 4: Shape the Chews
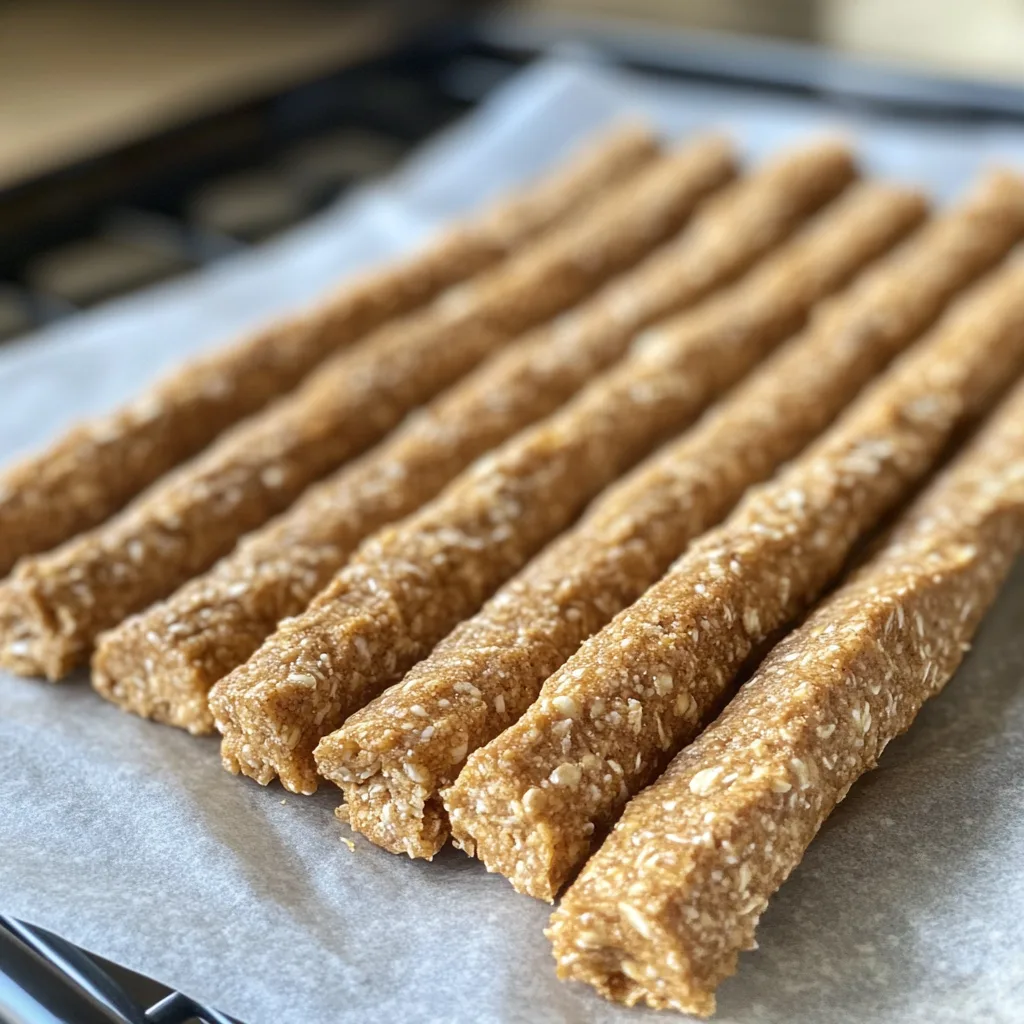
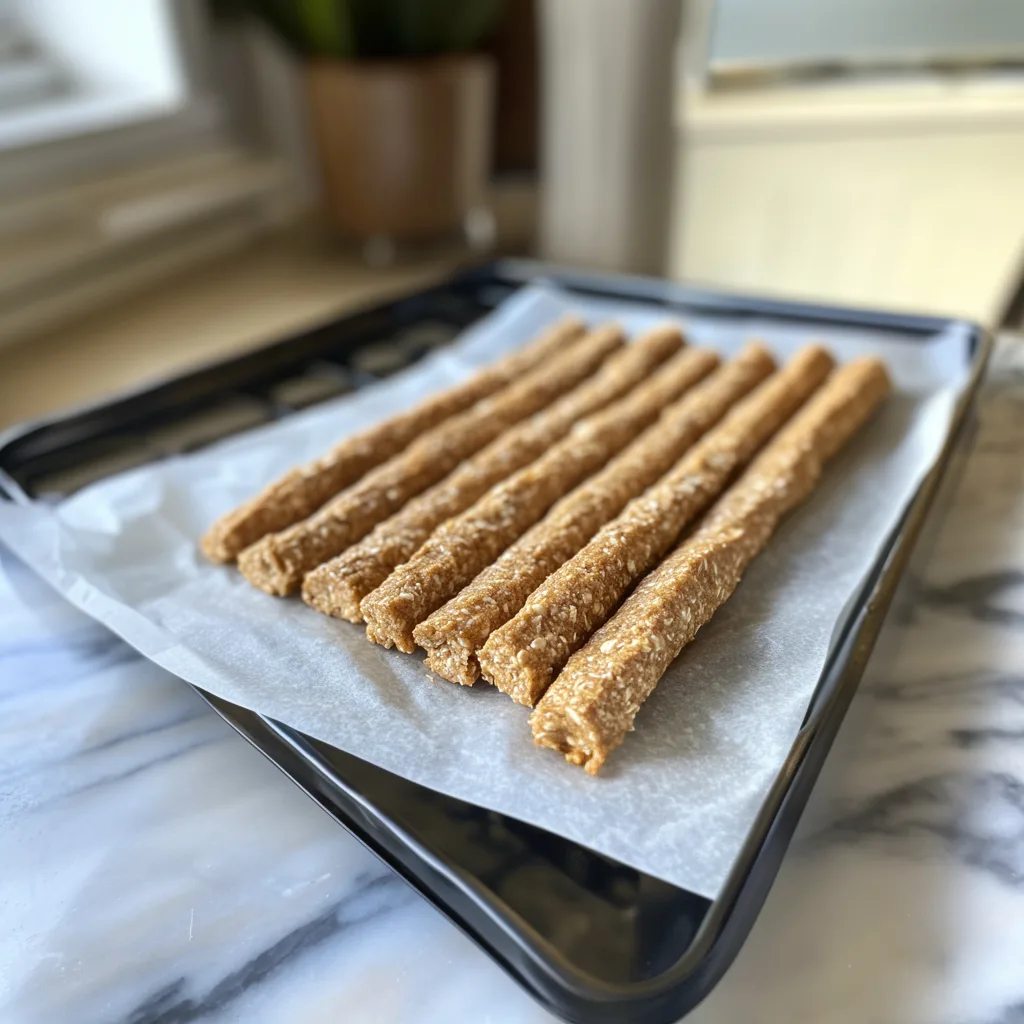
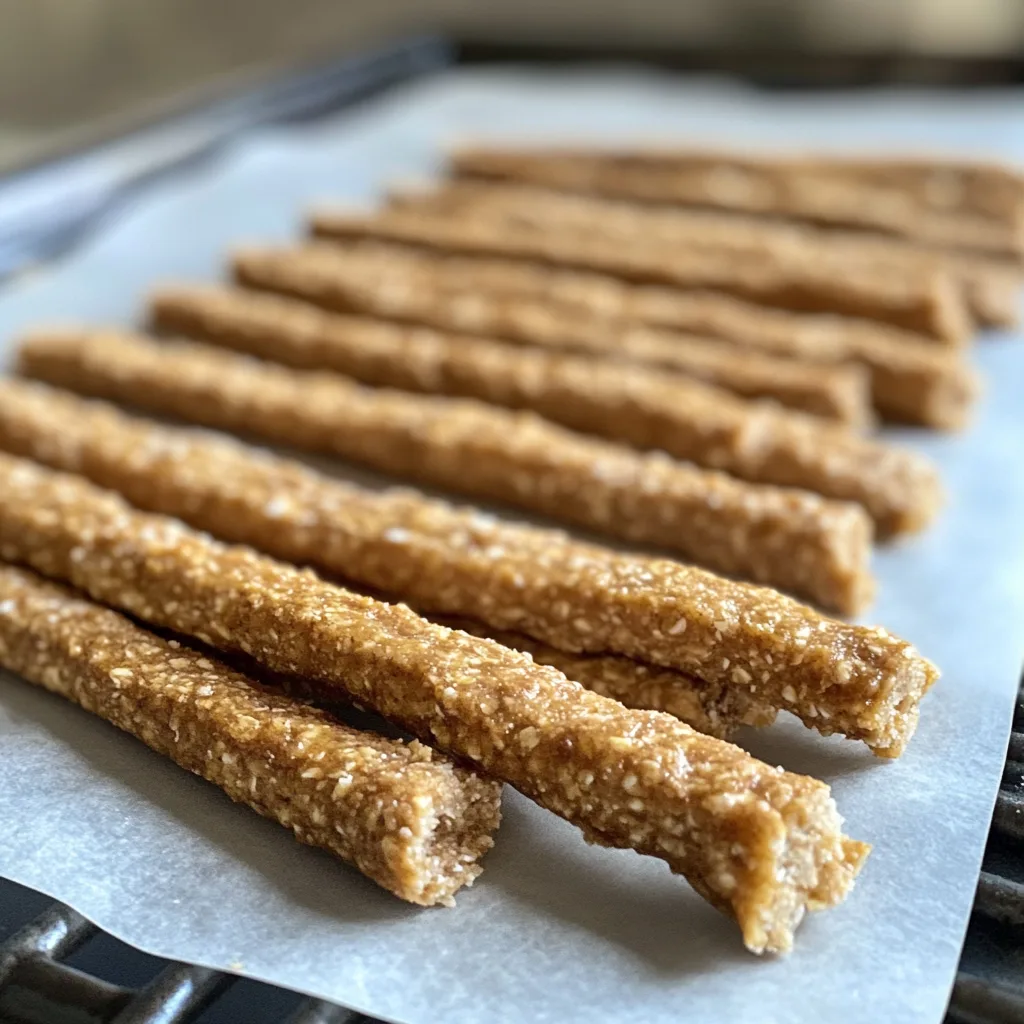
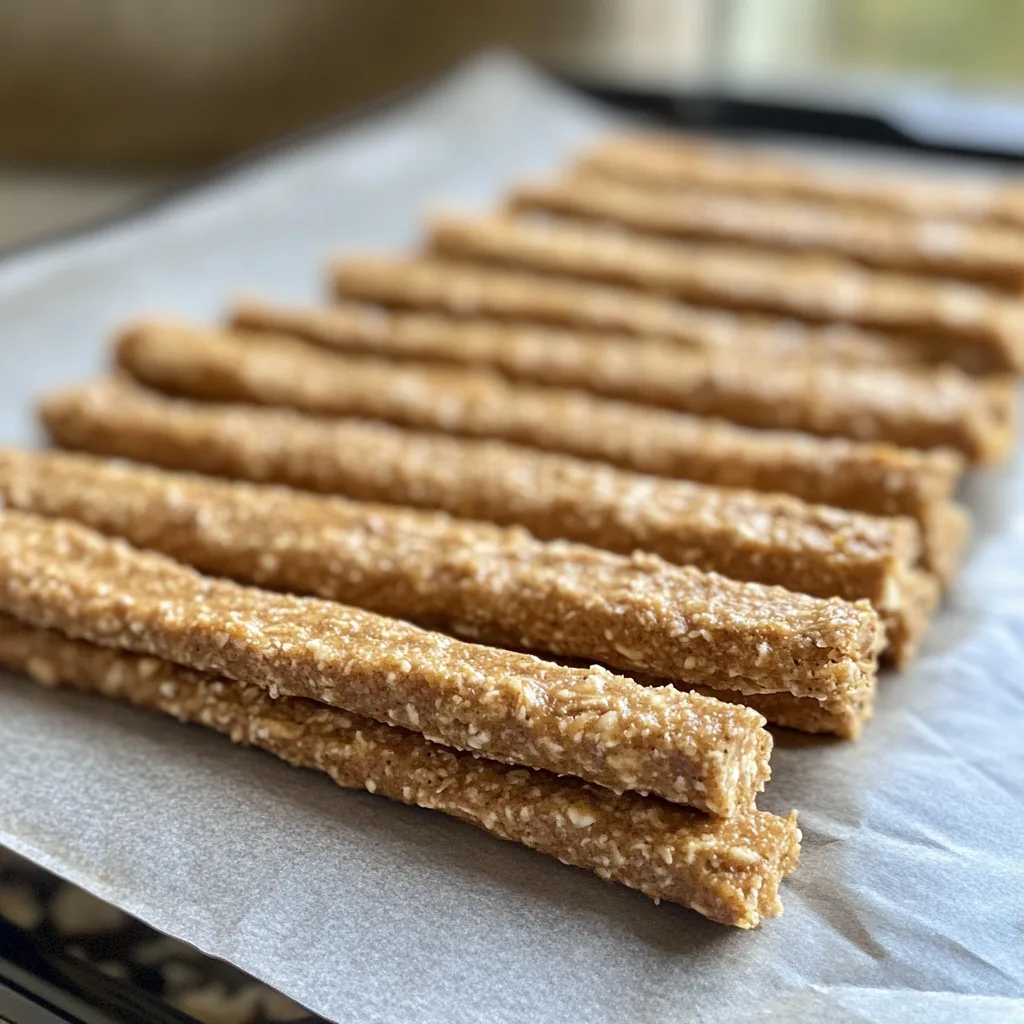
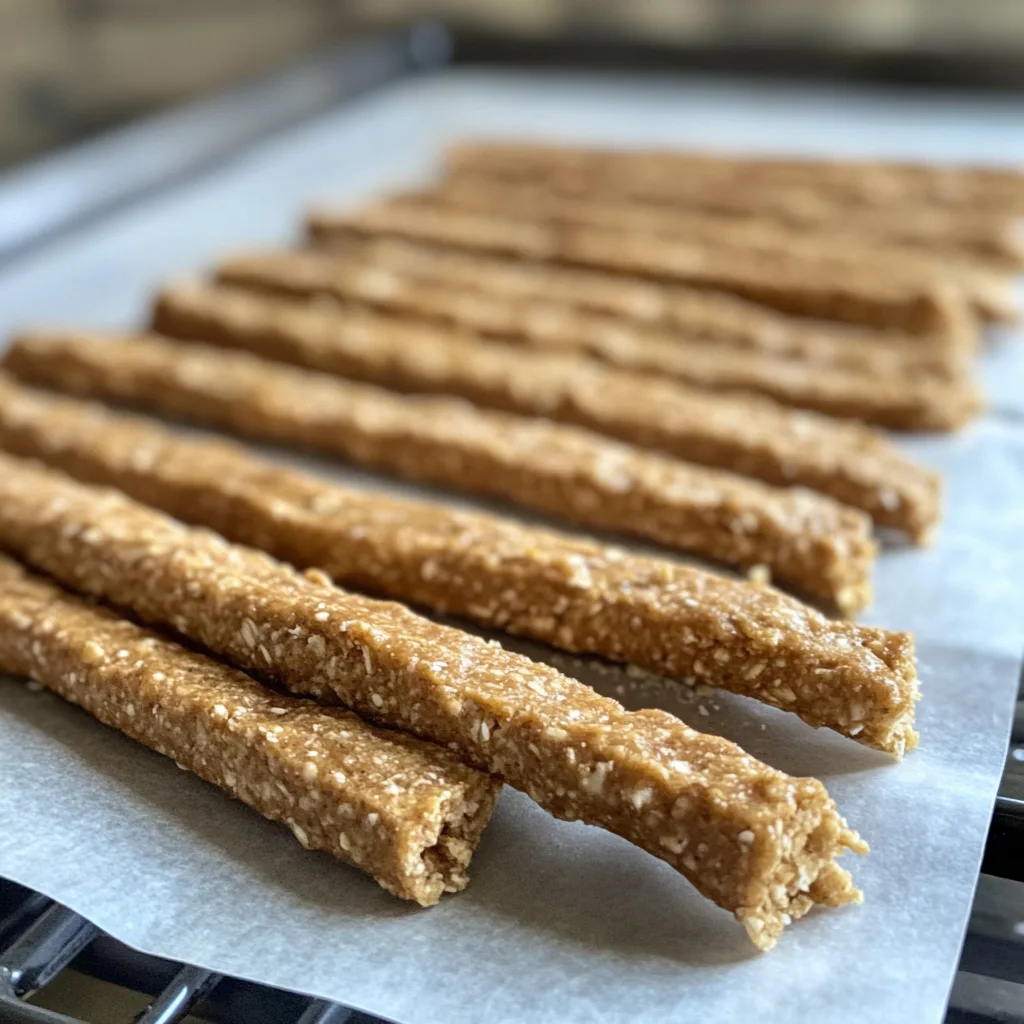
Now, it’s time for the fun part! Divide the dough into small portions and roll them into sticks or desired shapes. Place each piece onto your parchment-lined baking sheet, leaving a little space between each one. The sticks should be thick enough to give your pup a good chew but not so thick that they won’t bake evenly.
Step 5: Bake the Chews
Bake the treats in the oven for 20-25 minutes, or until they are golden brown and firm to the touch. Remember that the chews will harden slightly as they cool, so don’t worry if they seem a bit soft when you first take them out. Allow the treats to cool completely on a wire rack before serving.
Pro Tip: If your dog loves crunchy treats, you can bake them for an additional 5 minutes.
Storage Tips for Cheesy Chews
Once your Cheesy Chews have cooled, you can store them in an airtight container. They will stay fresh for up to one week at room temperature. For longer storage, you can refrigerate them for up to two weeks or freeze for up to three months. Simply thaw before serving for a fresh treat your dog will adore!
Personal Experience Making Cheesy Chews
The first time I made these Cheesy Chews for my Labrador, Max, I could hardly keep him out of the kitchen. The irresistible aroma of baking cheese filled the house, and I knew I was onto something special. Max waited patiently by the oven, his tail thumping eagerly. When the treats were finally ready, he devoured them with joy in his eyes. Seeing him so happy made every step worth it.
Making homemade treats like these has strengthened the bond I share with Max. Not only do I enjoy baking, but knowing exactly what goes into his snacks gives me peace of mind. For Max, these chews are a highlight of the day—a reward for good behavior or simply a reason to celebrate being together.
If you enjoy this recipe, you might also want to check out our Banana and Honey Biscuits for Dogs: A Treat Your Pup Will Love. They’re another favorite at our house!
Tailoring Cheesy Chews to Your Dog’s Needs
Not all dogs are alike, and sometimes they need a recipe tailored to suit their unique needs. Here are some quick ways to adjust your Cheesy Chews based on dietary or taste preferences:
For Weight Management
Consider using low-fat cheese or reducing the amount of cheese slightly. This ensures your furry friend gets all the taste without too many calories.
For Dogs with Allergies
Oat flour is naturally gluten-free, but you can experiment with other flours, like chickpea flour, for a protein boost. Be mindful of any known allergies your dog has.
Flavor Customization
Add a hint of peanut butter for added flavor. For a homemade option, learn how to make Homemade Peanut Butter for Dogs: A Tail-Wagging Treat Your Pup Will Love.
Why Turmeric Is Optional (But Highly Beneficial)
Including turmeric is completely optional, but it can significantly enhance your dog’s health. Turmeric contains a compound called curcumin, which is known for its anti-inflammatory, antioxidant, and antibacterial properties. For older dogs or those suffering from joint pain, turmeric may help alleviate symptoms and improve mobility. Adding just a small pinch can provide noticeable benefits over time.
Of course, you should always check with your veterinarian before adding new ingredients to your pet’s diet, especially if they have preexisting health conditions.
Other Homemade Treats to Consider
If your dog loves these Cheesy Chews, you’re in luck! We have a variety of homemade treats that you can whip up for different occasions:
- Blueberry Pumpkin and Oatmeal Chews for Dogs: These are loaded with antioxidants and fiber, making them great for digestion and immune health.
- Bull Penis Dog Treats: If you’re looking for something unique, this is an all-natural chew that dogs love.
A Final Note on Treat Quality and Moderation
Remember, treats like Cheesy Chews should complement a balanced diet and not replace it. Overfeeding treats, no matter how healthy, can lead to obesity and related health problems. As a rule of thumb, treats should make up no more than 10% of your dog’s daily calorie intake.
For more fun and nutritious treat ideas, visit mydogrecipe.com. Don’t forget to follow our Pinterest page here for inspiring and dog-approved treat ideas!
Print
The Ultimate Cheesy Chews Recipe for Dogs
- Total Time: 35 minutes
- Yield: 12 chews 1x
- Diet: Gluten Free
Description
Cheesy Chews for Dogs are a homemade treat packed with oat flour and cheese for a tasty, nutritious snack that supports your pet’s health.
Ingredients
- 2 cups of oat flour
- 1 cup of shredded low-fat cheese (cheddar recommended)
- 1 large egg
- 1/3 cup of unsweetened applesauce
- 1 tablespoon of coconut oil
- 1/4 teaspoon of turmeric (optional)
Instructions
- Preheat oven to 350°F (175°C) and line a baking sheet with parchment paper.
- In a medium bowl, combine oat flour and turmeric (if using). Mix thoroughly.
- In a separate bowl, whisk together the egg, unsweetened applesauce, and coconut oil. Add the shredded cheese and mix well.
- Gradually fold the wet mixture into the dry ingredients until a dough forms.
- Divide the dough into small portions and shape into sticks or desired shapes. Place on the prepared baking sheet.
- Bake for 20-25 minutes, or until golden brown and firm to the touch. Allow to cool completely before serving.
Notes
- If the dough is too dry, add a small amount of water to reach the right consistency.
- For crunchier treats, bake an additional 5 minutes.
- Store in an airtight container at room temperature for up to one week, in the refrigerator for up to two weeks, or freeze for up to three months.
- Prep Time: 10 minutes
- Cook Time: 25 minutes
- Category: Dog Treats
- Method: Baking
- Cuisine: Pet-Friendly
Nutrition
- Serving Size: 1 chew
- Calories: 80
- Sugar: 1g
- Sodium: 50mg
- Fat: 5g
- Saturated Fat: 2g
- Unsaturated Fat: 2g
- Trans Fat: 0g
- Carbohydrates: 6g
- Fiber: 1g
- Protein: 3g
- Cholesterol: 20mg
Keywords: Cheesy Chews for Dogs, Homemade Dog Treats, Dog Snacks, Healthy Dog Treats

