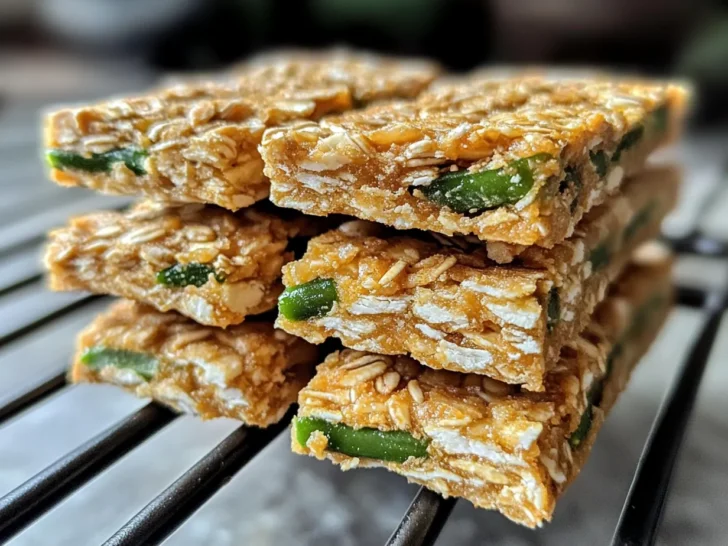
Homemade dog treats aren’t just a trend; they’re a reflection of love and care for our furry companions. Crafting your own treats ensures that every ingredient is chosen with your pet’s health and happiness in mind. One of our favorite recipes is the Green Bean and Chicken Crunchies for Dogs. These treats combine the protein-packed goodness of chicken with the fiber-rich crunch of green beans, making a snack that’s as tasty as it is nutritious.
In this guide, we’ll walk you through the steps to make these delightful treats, sharing tips and personal experiences along the way. Plus, we’ll discuss the benefits of making homemade treats and offer options to customize the recipe to fit your dog’s dietary needs. Let’s get started!
Why Make Homemade Dog Treats?
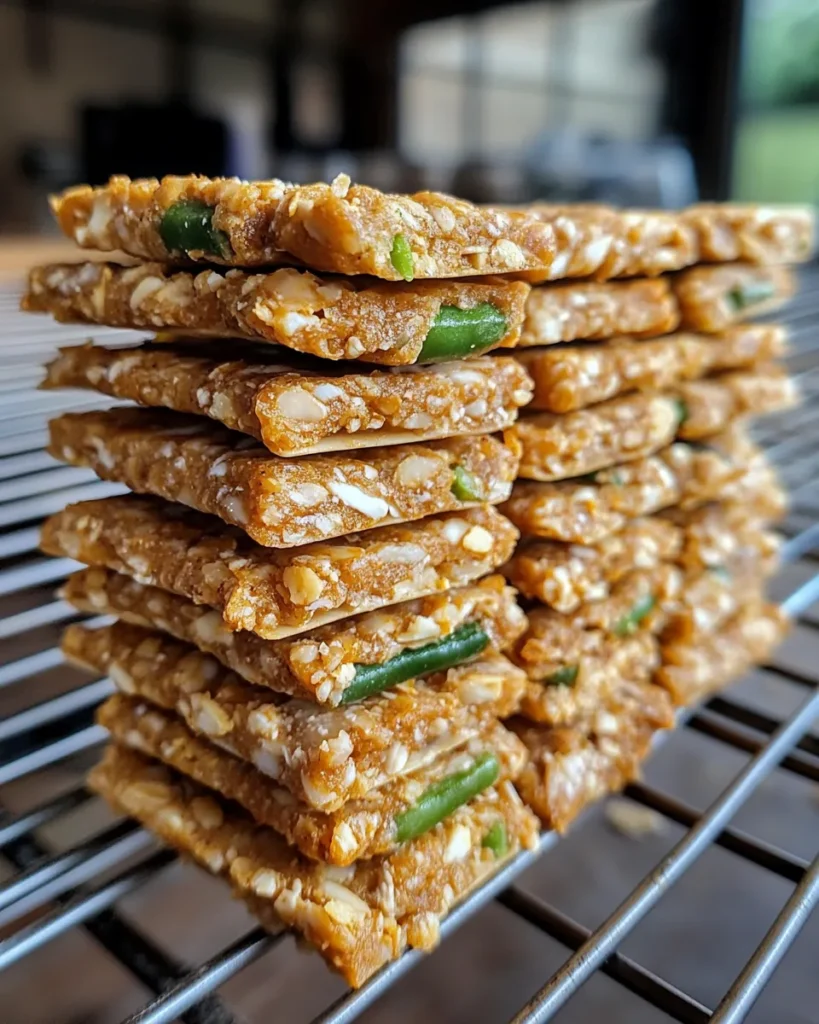
Making your own dog treats at home is a rewarding experience, not just for you but for your four-legged friend as well. Unlike store-bought treats, homemade goodies let you control every ingredient that goes into the mix. This control can be crucial for dogs with allergies, sensitivities, or special dietary needs.
Benefits of Homemade Treats
- Transparency and Control: With homemade treats, there are no hidden ingredients or preservatives. You know exactly what your dog is eating.
- Freshness: Homemade treats don’t sit on store shelves for months. They’re fresher and often more nutritious.
- Customization: Adjust the recipe to suit your dog’s needs and tastes, making it as unique as they are.
- Bonding: Cooking for your dog is a meaningful way to connect and show love.
- Cost-Effective: Often, homemade treats cost less than premium store-bought brands.
Why Green Beans and Chicken?
The main ingredients in our Green Bean and Chicken Crunchies—green beans and chicken—aren’t just chosen for their flavor. They provide several health benefits for your dog:
- Green Beans: Low in calories but rich in vitamins A, C, and K, green beans are an excellent source of fiber. They help support digestive health, aid in weight management, and even promote a shiny coat. Their crunchy texture is something dogs love, and they add a burst of color to the treats.
- Chicken: Lean and protein-rich, chicken supports muscle development and overall health. It’s an easily digestible protein source that’s popular with dogs due to its flavor.
Additional Benefits of Crunchy Treats
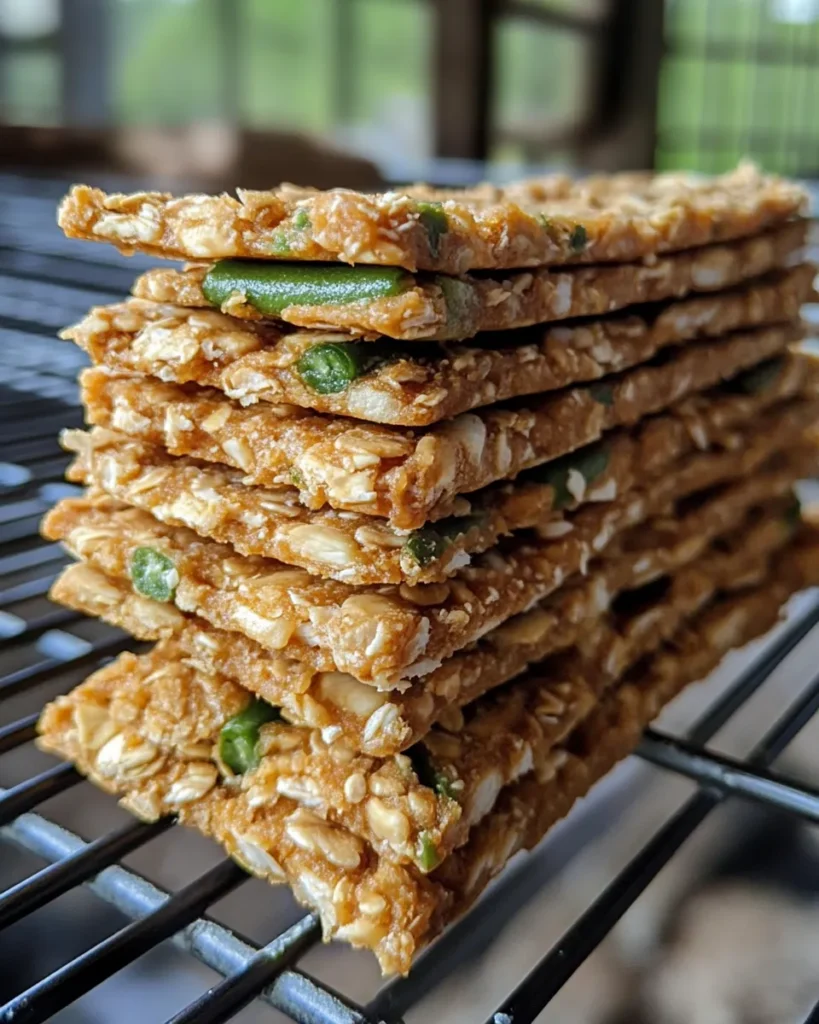
Crunchy treats like these are great for your dog’s dental health. Chewing on crunchy textures helps scrape away plaque and tartar, promoting better oral hygiene. Unlike soft treats that can get stuck in the teeth, crunchy snacks help keep those pearly whites clean!

Ingredients for Green Bean and Chicken Crunchies
Here’s what you’ll need to make these delightful treats:
- 2 cups cooked, shredded chicken (boneless and skinless)
- 1 cup finely chopped green beans (lightly steamed or blanched)
- 1 ½ cups oat flour (you can make this by grinding rolled oats)
- 2 eggs (for binding)
- ½ cup chicken broth (preferably low sodium)
- 2 tablespoons coconut oil or olive oil
Optional additions:
- Turmeric: For added anti-inflammatory properties.
- Ground flaxseed: For omega-3 fatty acids to promote skin and coat health.
Ingredient Substitutions
Feel free to customize the ingredients to fit your dog’s specific needs. If your dog is sensitive to grains, you can use coconut or almond flour instead of oat flour. You can also swap chicken for turkey, lean beef, or even fish, depending on what your dog prefers. The key is to ensure all ingredients are safe for dogs.
Looking for more inspiration for homemade treats? Check out our Delicious and Nutritious Oatmeal Cookies for Dogs recipe for another simple and tasty option!
Step-by-Step Recipe Guide
1. Preparing the Ingredients
The first step in making these crunchies is to prepare your ingredients. Start by cooking the chicken. Boil, bake, or steam it until fully cooked. Once cooled, shred the chicken finely using your hands or two forks. Shredded chicken works best for these treats as it blends well with the other ingredients.
Next, focus on the green beans. Wash, trim, and chop the beans into small, bite-sized pieces. Steam or blanch them briefly to soften them slightly while retaining their bright green color and crunch.
Pro Tip: Green beans not only add fiber but also help with digestion. For more dog-friendly treats packed with veggies, check out our Blueberry Pumpkin and Oatmeal Chews for Dogs.
2. Mixing the Dough
Now, it’s time to create the dough. In a large mixing bowl, combine the shredded chicken, green beans, and oat flour. Crack the eggs into the mixture and pour in the chicken broth. Add the coconut or olive oil for extra moisture. Using your hands or a sturdy mixing spoon, blend everything together until it forms a sticky dough.
Tip for Texture: If the dough feels too dry, gradually add a bit more chicken broth until it becomes malleable. If it’s too wet, sprinkle in more oat flour.
3. Rolling and Shaping the Dough
Preheat your oven to 350°F (175°C) and line a baking sheet with parchment paper or lightly grease it. Roll out the dough on a floured surface to about ¼ inch thickness. You can use a rolling pin or simply press the dough down with your hands. If you’d like a crispier texture, roll it thinner.
Cut the dough into shapes using cookie cutters, a knife, or even a pizza cutter for quick rectangular bars. Place the cut shapes onto the prepared baking sheet, leaving some space between each.
Creative Shapes: Use fun cookie cutters shaped like bones, hearts, or paws. You can even create bite-sized pieces perfect for training!
For more ideas on shaping dog treats, be sure to visit our Pinterest page here: https://www.pinterest.com/mydogrecipe/.
4. Baking the Treats
Place the baking sheet in the oven and bake the treats for 25-30 minutes or until they turn golden brown. For a crunchier texture, you can reduce the heat to 300°F and bake for an additional 10-15 minutes. This step helps dehydrate the treats, giving them a satisfying snap that dogs love.
While the treats bake, you’ll notice the savory aroma filling your kitchen—a reminder that you’re creating something special for your beloved pup.
5. Cooling and Storing the Treats
Once baked to perfection, remove the treats from the oven and allow them to cool completely on a wire rack. Cooling ensures they firm up properly, giving them that crunchy texture dogs enjoy.
Storage Tips:
- Store these crunchies in an airtight container in the refrigerator for up to two weeks.
- To keep a longer supply, freeze the treats. They can last for several months in the freezer. Just thaw at room temperature before serving.
Storing them properly ensures freshness and extends their shelf life.
Why Dogs Love Crunchy Treats
Crunchy treats aren’t just a delight to chew; they also offer numerous health benefits for your dog. Chewing on crunchy textures helps scrape plaque and tartar off your dog’s teeth, promoting better oral health. Unlike soft treats that can sometimes stick to teeth, crunchy snacks provide a satisfying cleaning mechanism while delivering great taste.
Additional Health Benefits
Green beans, rich in fiber and vitamins, help support your dog’s digestive system. Combined with lean chicken protein, these treats are not only delicious but also promote muscle maintenance, a shiny coat, and energy levels.
Fun Fact: Dogs have around 1,700 taste buds, compared to humans’ 9,000. While they don’t taste things the same way we do, they absolutely love savory, crunchy, and meaty flavors!
Customizing the Recipe for Your Dog’s Needs
One of the great things about homemade dog treats is that they’re highly customizable. Here are some ways to adapt the recipe based on your dog’s preferences and dietary needs:
Add More Veggies
You can incorporate other dog-safe vegetables like carrots, sweet potatoes, or pumpkin puree for added nutrients and variety. Pumpkin, for example, is great for digestion and is often used in treats like our Pumpkin Pupsicles for Dogs.
Switch the Protein
If your dog prefers different meats, feel free to swap the chicken for turkey, lean beef, or even salmon. Adjust the cooking time and shredding method accordingly.
Incorporate Other Healthy Add-Ins
Consider adding healthy ingredients like ground flaxseed (for omega-3s), chia seeds, or even a touch of Homemade Peanut Butter for Dogs for a richer flavor. Just make sure any peanut butter used is free of added sugar and artificial sweeteners like xylitol, which is toxic to dogs.
Serving Suggestions and Fun Ideas
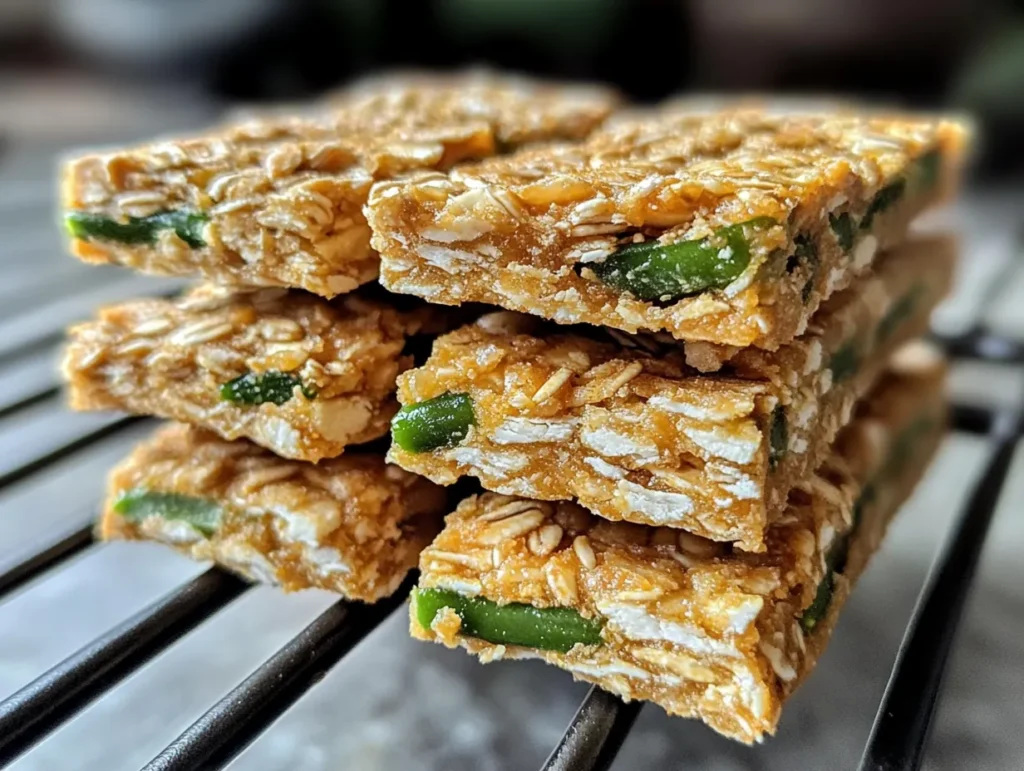
Treats like these Green Bean and Chicken Crunchies are
versatile. Use them for training, as a reward for good behavior, or even just as a special treat to brighten your dog’s day. Their crunchy texture makes them perfect for dogs of all sizes.
Make It a Gift: Homemade dog treats make thoughtful gifts for friends and family with dogs. Package the treats in a cute jar or bag with a ribbon for a personalized touch.
Training Rewards
Crunchy treats can be cut into smaller pieces for training sessions. Their satisfying crunch is a great motivator, and the taste will keep your dog coming back for more. For other training-friendly snacks, check out our Banana and Honey Biscuits for Dogs, which offer a sweet reward without added sugars.
Frequently Asked Questions
Q: Can I use canned green beans for this recipe?
A: Fresh or frozen green beans are preferred because they retain their crunch and nutritional value better. If you must use canned green beans, ensure they’re free of added salt and rinse them thoroughly.
Q: Can these treats be made grain-free?
A: Absolutely! Use coconut flour, almond flour, or other grain-free options. Adjust the liquid content, as some alternative flours absorb moisture differently.
Q: How do I know if my dog likes green beans?
A: Many dogs enjoy the crunch and taste of green beans. Offer a small piece first to see how your dog reacts before adding them to a recipe.
More Recipes to Explore
If you and your pup enjoyed making and munching on these Green Bean and Chicken Crunchies, there are plenty more recipes to explore. Here are some of our favorites:
- Bull Penis Dog Treats – High-protein chews that provide long-lasting enjoyment.
- Blueberry Pumpkin and Oatmeal Chews for Dogs – Packed with antioxidants and fiber for a healthy treat.
- Pumpkin Pupsicles for Dogs – Perfect for hot days or as a refreshing snack.
For more dog treat ideas, be sure to follow our Pinterest page here: https://www.pinterest.com/mydogrecipe/.
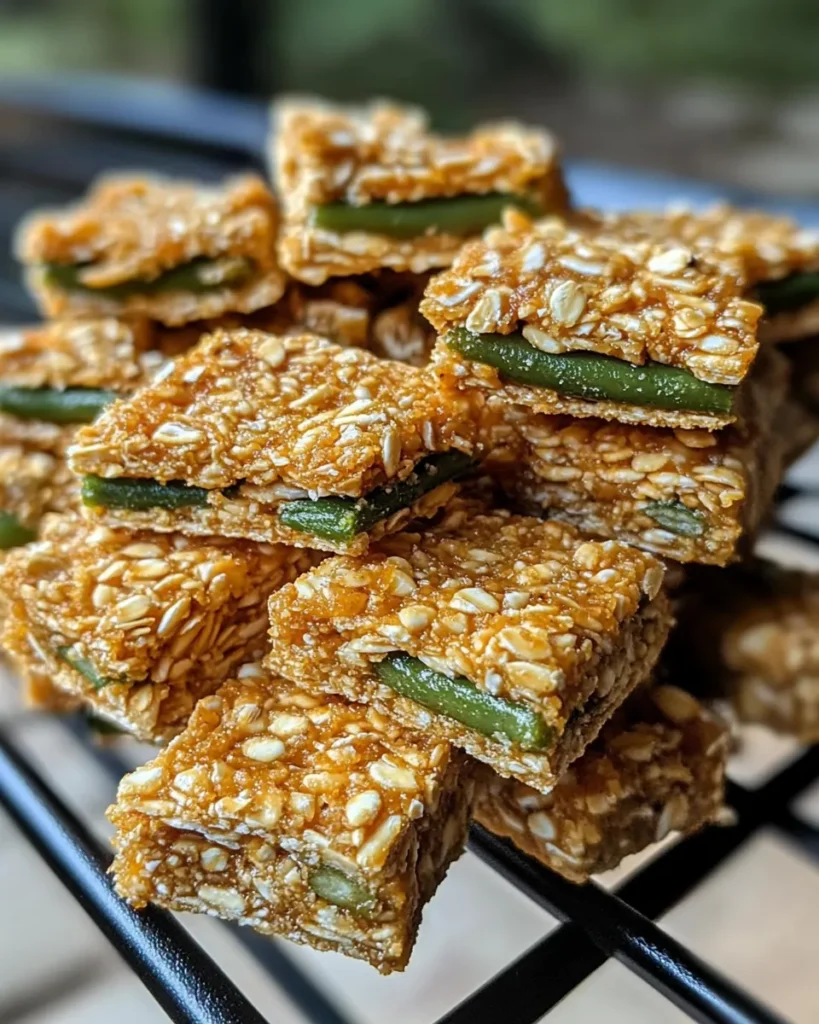
The Joy of Making Homemade Treats
Creating homemade treats like Green Bean and Chicken Crunchies isn’t just about making food; it’s about creating moments of joy with your dog. Every step, from mixing the dough to baking in the oven, is a reminder of the special bond you share. Watching your dog enjoy the fruits of your labor with tail wags and happy crunches is truly priceless.
When you make these treats, you’re not just feeding your dog; you’re showing them love. And isn’t that what every tail wag is all about? Thank you for taking the time to make something special for your best friend. Your dog will love you even more for it!
Explore even more recipes, tips, and ideas on our website: https://mydogrecipe.com/. Keep baking, and keep those tails wagging!
Print
Homemade Green Bean and Chicken Crunchies for Dogs
- Total Time: 50 minutes
- Yield: Approximately 20–30 treats (depending on size) 1x
- Diet: Gluten Free
Description
Green Bean and Chicken Crunchies for Dogs are healthy, crunchy homemade treats packed with protein and fiber, perfect for your furry friend.
Ingredients
- 2 cups cooked, shredded chicken (boneless and skinless)
- 1 cup finely chopped fresh green beans (lightly steamed or blanched)
- 1 ½ cups oat flour (or grind rolled oats into flour)
- 2 eggs
- ½ cup chicken broth (preferably low sodium)
- 2 tablespoons coconut oil or olive oil
- Optional: turmeric or ground flaxseed for added nutrition
Instructions
- Preheat your oven to 350°F (175°C) and line a baking sheet with parchment paper.
- Cook and shred the chicken, ensuring it is finely broken down.
- Lightly steam or blanch green beans and chop them into small, bite-sized pieces.
- In a large mixing bowl, combine the shredded chicken, chopped green beans, and oat flour.
- Add the eggs, chicken broth, and coconut oil to the mixture. Mix until a sticky dough forms.
- Roll out the dough on a floured surface to about ¼ inch thickness.
- Cut the dough into desired shapes using cookie cutters or a knife.
- Place the shapes on the prepared baking sheet, leaving some space between each.
- Bake for 25-30 minutes or until golden brown and crispy.
- Remove from the oven and allow the treats to cool completely on a wire rack.
Notes
- Store the treats in an airtight container in the refrigerator for up to 2 weeks.
- Freeze for longer storage; thaw before serving.
- Adjust the consistency of the dough by adding more chicken broth if too dry or more flour if too wet.
- Prep Time: 20 minutes
- Cook Time: 30 minutes
- Category: Dog Treats
- Method: Baking
- Cuisine: Pet-Friendly
Nutrition
- Serving Size: 1 treat
- Calories: 35
- Sugar: 0g
- Sodium: 10mg
- Fat: 1.5g
- Saturated Fat: 0.5g
- Unsaturated Fat: 1g
- Trans Fat: 0g
- Carbohydrates: 2g
- Fiber: 0.5g
- Protein: 4g
- Cholesterol: 15mg
Keywords: Green Bean and Chicken Crunchies for Dogs, Homemade Dog Treats, Crunchy Dog Treats

