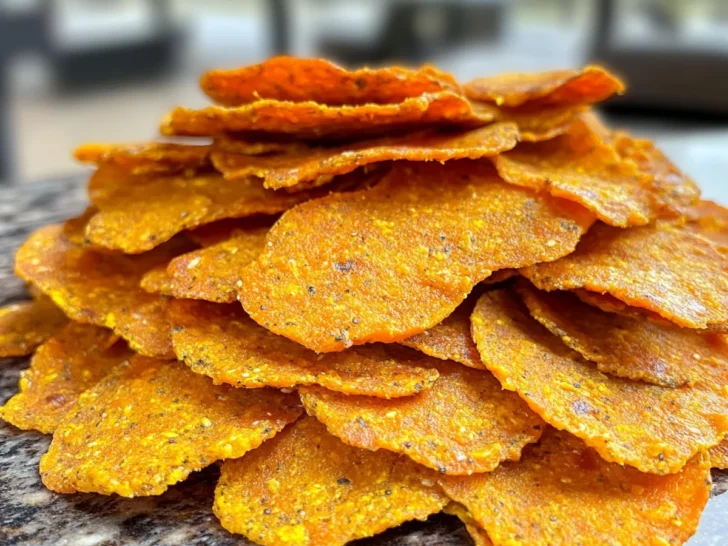
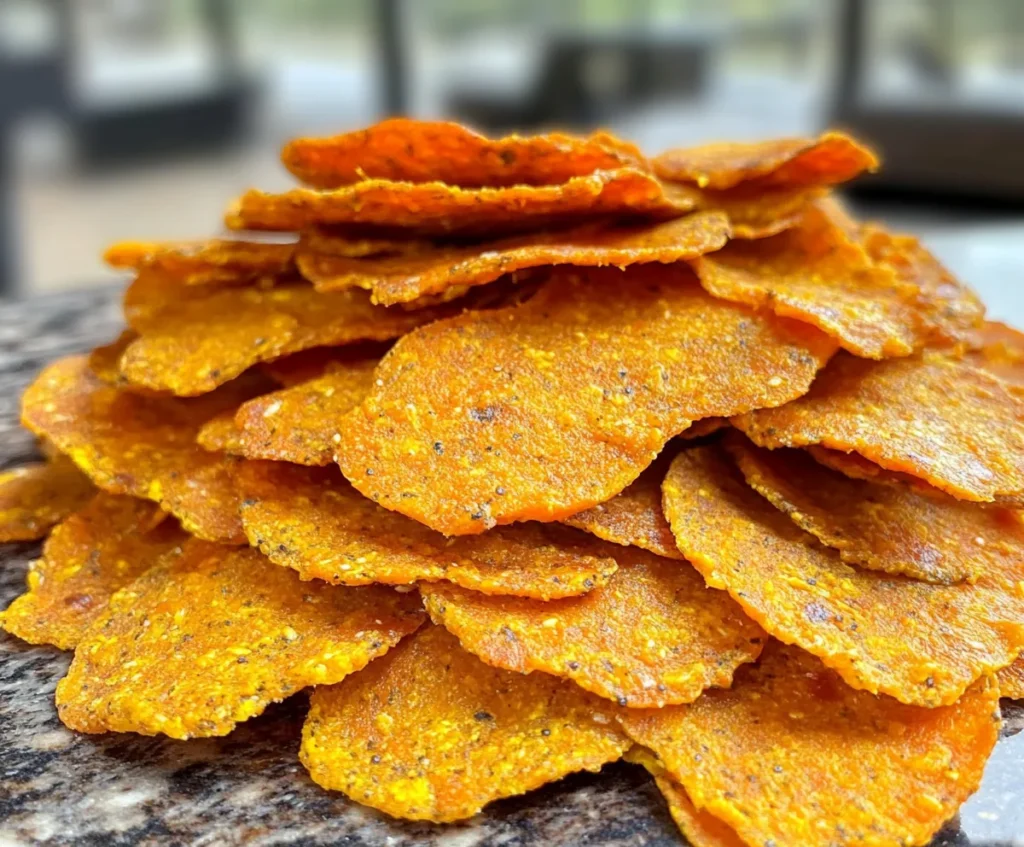
When it comes to our furry best friends, we all want to provide them with the healthiest, tastiest, and most tail-wagging treats possible. Homemade treats aren’t just a way to show our love; they’re a chance to control the ingredients, ensuring our pups receive something free from preservatives, artificial colors, and additives. For my dog, Pepper, who absolutely adores crunchy treats, I wanted something that combined nutrition with flavor. Enter Homemade Carrot & Squash Crisps for Dogs—a recipe that transformed treat time and has become a staple in our household.
In this post, I’ll walk you through every step of making these tasty crisps, share tips and tricks to perfecting them, and explain why carrots and squash make a healthy, tasty choice. I’ll even touch on some variations you can try and share how you can make treat time more enriching for your pup. So, let’s dive in!
Why Carrots and Squash Make the Perfect Combo for Dog Treats
Nutritional Benefits of Carrots
Carrots are a favorite vegetable among dogs and for good reason! Rich in beta-carotene, which the body converts into Vitamin A, carrots support eye health, a strong immune system, and healthy skin and coat. Dogs often enjoy the natural sweetness of carrots, making them an excellent ingredient for homemade treats. Additionally, the crunchy texture of raw carrots can act as a natural toothbrush, helping reduce plaque and promote oral hygiene.
Why Squash Is Great for Dogs
Squash, especially varieties like butternut and acorn squash, is loaded with fiber, potassium, Vitamin C, and antioxidants. It’s gentle on the digestive system and often recommended for dogs with sensitive stomachs. Squash’s high fiber content helps regulate digestion, making it a beneficial addition to your dog’s diet.
Combining carrots and squash creates a powerhouse treat that’s both nutrient-dense and dog-approved. The vibrant orange color of these crisps also comes from natural pigments, signaling their high antioxidant content—perfect for boosting overall health.
Step-by-Step Recipe for Carrot & Squash Crisps
Ingredients List
To make these crispy and nutritious treats, gather the following ingredients:
- 1 medium carrot, peeled and finely grated
- 1 small squash (e.g., butternut or acorn squash), cooked and mashed
- 1 cup oat flour (you can make your own by grinding oats)
- 1 tablespoon olive oil (optional for a crispy texture)
- A pinch of dried parsley (optional, for added flavor and nutrition)
Why These Ingredients?
Each component was carefully selected with dogs’ health and taste preferences in mind. Carrots and squash provide the nutritional base, oat flour serves as a gentle binder, and olive oil contributes to the crispiness. Parsley is not just decorative; it can help freshen your dog’s breath!
Step 1: Preparing the Carrot and Squash
Before mixing the dough, ensure your vegetables are ready to go.
- Carrots: Peel and grate the carrot finely. This ensures even distribution throughout the dough, providing flavor and crunch in every bite.
- Squash: Cook your squash using your preferred method (baking, boiling, or steaming). I find that baking brings out the natural sweetness. Once cooked, scoop out the flesh and mash it into a smooth puree. Let it cool completely.
Step 2: Mixing the Ingredients
In a medium mixing bowl, combine the grated carrot, mashed squash, and oat flour. If you’re using olive oil and parsley, add those now. Stir the mixture until you have a cohesive dough. If the dough is too sticky, sprinkle in a bit more oat flour. If it’s too dry, add a tablespoon of water at a time until it’s just right.
Step 3: Rolling Out the Dough
On a flat surface, sprinkle a small amount of oat flour to prevent sticking. Place your dough on the floured surface and roll it out to about 1/8 inch thick. Thinner crisps will bake up crunchier, while slightly thicker ones will be a bit softer.
Step 4: Cutting the Crisps
Now comes the fun part—cutting out shapes! Use a knife, cookie cutter, or even a small glass to create shapes. I like using bone-shaped cookie cutters for a bit of whimsy. Place each shape onto a parchment-lined baking sheet.
Step 5: Baking
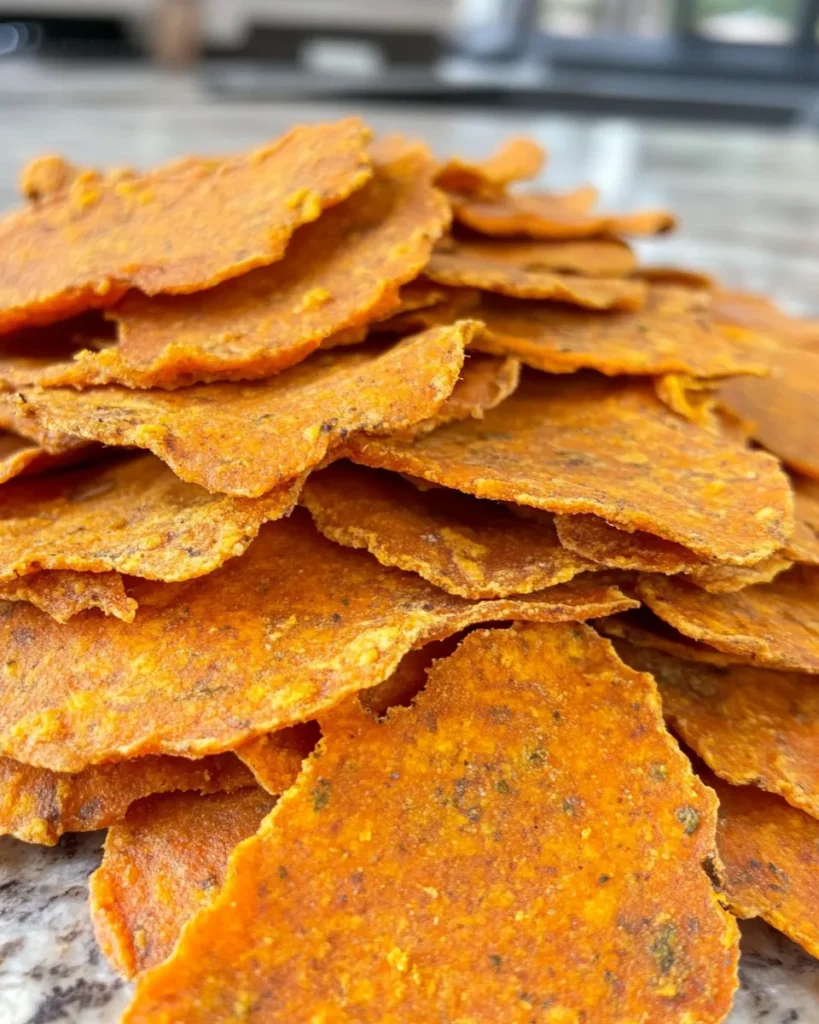
Preheat your oven to 325°F (163°C). Bake the crisps for 20-30 minutes, checking periodically. You want them to turn a lovely golden brown color and become crisp. The time may vary depending on how thick you rolled the dough, so keep an eye on them during the final few minutes.
Step 6: Cooling and Crunch Time
Once baked, transfer the crisps to a wire rack to cool completely. This final cooling step is important to ensure maximum crunchiness. Pepper always knows when these are cooling on the counter and waits impatiently!
Storage and Shelf Life Tips
To keep your homemade crisps fresh and crunchy:
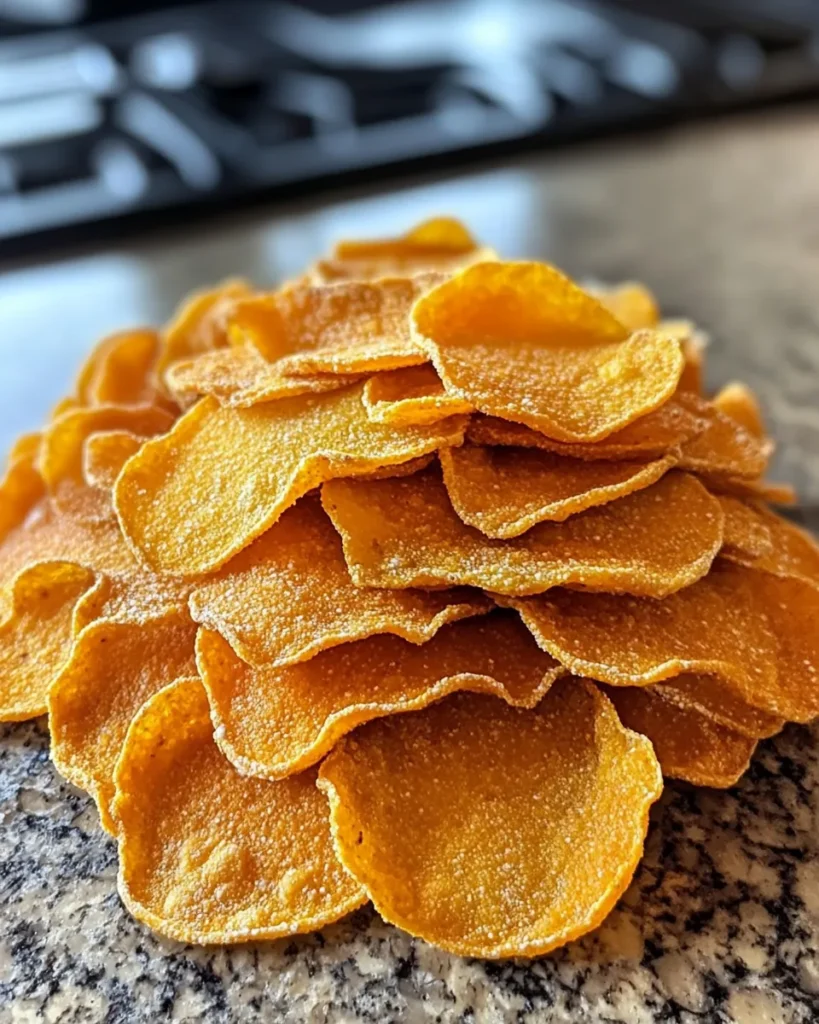
- Airtight Container: Store them in an airtight container at room temperature for up to 1-2 weeks.
- Refrigeration: For longer storage, keep them in the fridge, where they’ll last for up to a month.
- Freezing: These crisps can be frozen for several months. Just thaw them at room temperature before serving.
Why Dogs Love Crunchy Treats
Dogs naturally enjoy crunchy textures for various reasons. The sound of crunching and the sensation of breaking down a hard treat is satisfying to them. Crunchy treats also help scrape away plaque and debris from their teeth, promoting better oral hygiene. For my dog Pepper, it’s the crunch that keeps him coming back for more.
Tips for Tail-Wagging Success
1. Experiment with Thickness
If you want an extra crunchy treat, roll the dough as thin as possible. For a softer texture, keep the dough thicker. Remember to adjust the baking time accordingly.
2. Flavor Variations
Consider incorporating other dog-friendly flavors:
- Peanut Butter: A tablespoon of unsalted, xylitol-free peanut butter can be added to the dough. Your dog will go wild for it! For a deeper dive into homemade peanut butter options, check out Homemade Peanut Butter for Dogs.
- Banana: Mash a ripe banana into the dough for a naturally sweet flavor. This is a great way to use up overripe bananas. Or, for a dedicated banana treat, consider making Banana and Honey Biscuits for Dogs.
3. Add Superfoods
Adding a sprinkle of flaxseed or chia seeds can provide extra omega-3 fatty acids and fiber. These ingredients support a shiny coat, joint health, and overall well-being.
4. Fun Shapes for Special Occasions
Make treat time exciting by using cookie cutters to create fun shapes—bones, hearts, paw prints, or whatever suits your mood. The effort adds a special touch, especially for celebrations like your dog’s birthday.
When to Serve Carrot & Squash Crisps
These crisps are a great everyday treat, but they also shine during special moments. Use them during training sessions, as rewards for good behavior, or just because. However, like any treat, they should be offered in moderation, especially if your dog is on a specific diet.
Training and Enrichment Activities
Carrot & Squash Crisps can be incorporated into training exercises. Their crunchy texture makes them great for rewarding desired behavior. Here are a few enrichment ideas:
- Treat-Dispensing Toys: Break the crisps into smaller pieces and place them inside treat-dispensing toys for mental stimulation.
- Scavenger Hunts: Hide pieces around the house or yard to encourage your dog to use their nose to find treats.
- Interactive Games: Use the crisps during interactive games like “hide and seek” to keep training sessions fun and engaging.
Personal Experience: Pepper’s Favorite Treat
I remember the first time I made these crisps for Pepper. He waited patiently by the oven, tail wagging with anticipation. As soon as the first batch cooled, I offered him a crisp, and his eyes lit up. It was love at first crunch! Since then, these treats have become a go-to in our household.
Health Benefits of Homemade Treats
Making treats at home offers several advantages over store-bought options:
- Controlled Ingredients: You know exactly what goes into each treat. No mystery additives or questionable preservatives.
- Customizable: Adjust recipes to suit your dog’s dietary needs or preferences.
- Affordability: Homemade treats are often more cost-effective than premium store-bought options.
- Bonding Time: Cooking for your dog strengthens the bond you share. It’s a labor of love, and your dog knows it!
Variations to Try
Here are some ideas to mix things up:
1. Blueberry Additions
Add a handful of blueberries for a burst of antioxidants and flavor. You can also explore [Blueberry Pumpkin and Oatmeal Chews for Dogs](https://mydogrecipe.com/blueberry
-pumpkin-and-oatmeal-chews-for-dogs/) for another delicious recipe packed with nutrients.
2. Pumpkin Puree
Substitute squash with pumpkin puree for a seasonal twist. Pumpkin is excellent for digestive health and offers a similar nutrient profile.
3. Switch the Flour
Oat flour is gentle on digestion, but you can try other dog-safe flours, such as whole wheat or coconut flour, for different textures and flavors.
4. Mix in Meat Broth
Replace water in the dough with low-sodium chicken or beef broth for a savory flavor boost. Dogs with a preference for savory treats will love this version.
5. Bull Penis Dog Treat Variation
If you’re looking to expand the texture and protein content in your treats, consider trying Bull Penis Dog Treats. While these differ greatly from crisps, they can be a complementary chewy option for your furry friend.
Storage Hacks
To make treat time more efficient, consider making large batches of crisps and storing them in different ways. Here’s how:
- Room Temperature: Keep a week’s worth of crisps on the counter for easy access.
- Refrigerate or Freeze: Store the rest in the fridge or freezer. Just thaw before serving.
Frequently Asked Questions (FAQs)
1. Can I Use Different Vegetables?
Absolutely! Swap carrots or squash for other dog-friendly veggies like sweet potatoes or pumpkin. Just ensure they’re cooked and pureed.
2. How Long Do These Crisps Last?
Stored in an airtight container, they should stay fresh for up to 2 weeks at room temperature and 1 month in the fridge.
3. Are These Suitable for Puppies?
Yes, but serve them in small amounts to prevent digestive upset.
4. Can I Make This Recipe Grain-Free?
Swap oat flour for coconut or almond flour to make a grain-free version. Adjust the liquid content as needed.
5. What About Dogs with Allergies?
Customize the recipe by substituting allergens with suitable alternatives. Always consult your vet before introducing new ingredients.
Exploring More Treats for Your Pup
Once you see how much your dog enjoys these crisps, you’ll be eager to explore more recipes. Homemade treats are a great way to spoil your pup while ensuring they receive nutritious and wholesome ingredients. Check out My Dog Recipe for a variety of dog-friendly recipes, and visit our Pinterest page for more creative ideas!
Happy baking! Your pup is in for a crunchy, tail-wagging treat!

