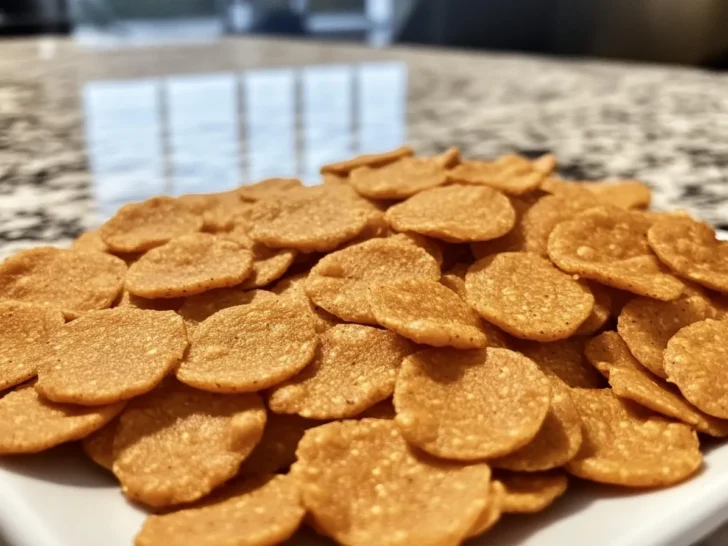
If you’re a dog parent like me, you’re always looking for ways to spoil your furry friend in the healthiest ways possible. And what better way to do that than by whipping up some homemade treats? Today, I’m going to show you how to make Crunchy Peanut Butter & Pumpkin Chips for Dogs, a recipe that’s not only delicious but also packed with nutrients your dog will love. These chips are made from simple, wholesome ingredients that are safe and beneficial for dogs, with peanut butter and pumpkin as the stars of the show.
Whether your dog is a fan of crunchy treats or you’re just looking for a new way to incorporate healthy ingredients into their diet, these peanut butter & pumpkin chips are the perfect option. Plus, they’re super easy to make! Before we jump into the recipe, let’s talk about why these ingredients are so good for dogs and how you can ensure this treat is as beneficial as it is tasty.
Why Peanut Butter and Pumpkin?
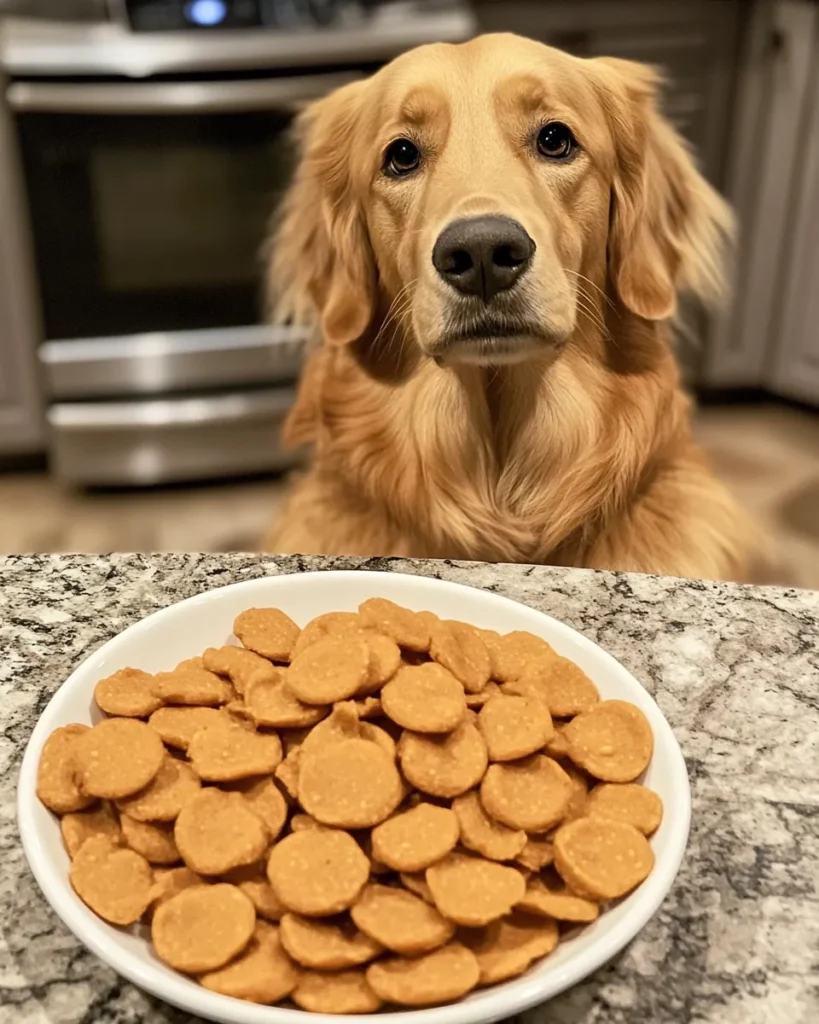
If you’re wondering why peanut butter and pumpkin make such a great pair for dog treats, here’s the scoop: they’re both packed with nutrients that are beneficial to your pup’s health. Peanut butter is rich in protein and healthy fats, making it a great energy booster. Pumpkin, on the other hand, is a fantastic source of fiber, vitamins A and C, and potassium. Together, they create a flavor combination dogs love, while also offering a range of health benefits.
Peanut Butter: A Protein-Packed Powerhouse
Peanut butter is one of the most popular dog treat ingredients for good reason. It’s loaded with protein, which is essential for maintaining your dog’s muscle mass, and it’s a great source of healthy fats that support brain and heart health. Additionally, peanut butter is rich in vitamin E and magnesium, which contribute to healthy skin, a shiny coat, and strong bones.
However, not all peanut butter is created equal. It’s important to choose a peanut butter that’s free from harmful additives like xylitol, sugar, and salt. If you want to make sure your peanut butter is 100% safe for your pup, you can even make your own at home. This guide on how to make homemade peanut butter for dogs walks you through the process step-by-step, ensuring you have a fresh, natural, and dog-friendly base for this recipe.
Pumpkin: The Digestive Aid
Pumpkin is another ingredient that does wonders for dogs’ health. Not only is it rich in fiber, which helps regulate digestion and prevent constipation, but it’s also low in calories, making it a guilt-free treat option for dogs on a diet. Pumpkin’s high water content can also help keep your dog hydrated, especially on hot days. Plus, it’s packed with beta-carotene, which your dog’s body converts into vitamin A—crucial for maintaining good vision, a healthy immune system, and proper growth.
And let’s not forget that pumpkin has a natural sweetness that dogs adore. It’s a versatile ingredient that can be used in a variety of dog treats, from biscuits to chews. If your dog is a fan of pumpkin-based snacks, check out this fun recipe for Blueberry Pumpkin and Oatmeal Chews for Dogs, a fruity and nutritious treat that’s sure to become a favorite.
Ingredients for Peanut Butter & Pumpkin Chips
Now that we’ve covered the nutritional benefits of the key ingredients, let’s dive into what you’ll need to make these tasty chips. The great thing about this recipe is that it uses simple ingredients you probably already have at home.
Here’s what you’ll need:
- 1 cup pumpkin puree: Make sure it’s plain pumpkin puree, not the spiced pie filling, which often contains additives and sugars that aren’t safe for dogs.
- 1/2 cup natural peanut butter: Opt for unsweetened and unsalted peanut butter without xylitol or other additives. If you’re not sure about store-bought brands, you can always make your own.
- 2 cups whole wheat flour: Whole wheat flour is high in fiber, but if your dog is sensitive to gluten, you can substitute this with oat flour, which works just as well.
- 1 tablespoon olive oil (optional): This will give the chips an extra crunch and add a dose of healthy fats.
Step-by-Step Instructions to Make Peanut Butter & Pumpkin Chips
Step 1: Preheat Your Oven
Start by preheating your oven to 350°F (175°C). A properly heated oven ensures that the chips bake evenly, resulting in that perfect crispy texture. While the oven is preheating, line two baking sheets with parchment paper or silicone baking mats. This will prevent the chips from sticking and make cleanup much easier.
Step 2: Mix the Pumpkin and Peanut Butter
In a large mixing bowl, combine the pumpkin puree and peanut butter. Make sure both are at room temperature, as this will help them blend together smoothly. Stir until the mixture is creamy and uniform. The aroma of the peanut butter and pumpkin will likely attract your dog at this point, so don’t be surprised if you have a little helper by your side!
Step 3: Add the Flour Slowly
Next, gradually add the whole wheat or oat flour to the pumpkin-peanut butter mixture. It’s best to add the flour in increments, stirring continuously until the dough starts to thicken. You want the dough to be firm but not too dry, so if it’s looking crumbly, you can add a tablespoon or two of water to help it come together.
Step 4: Roll and Cut the Dough
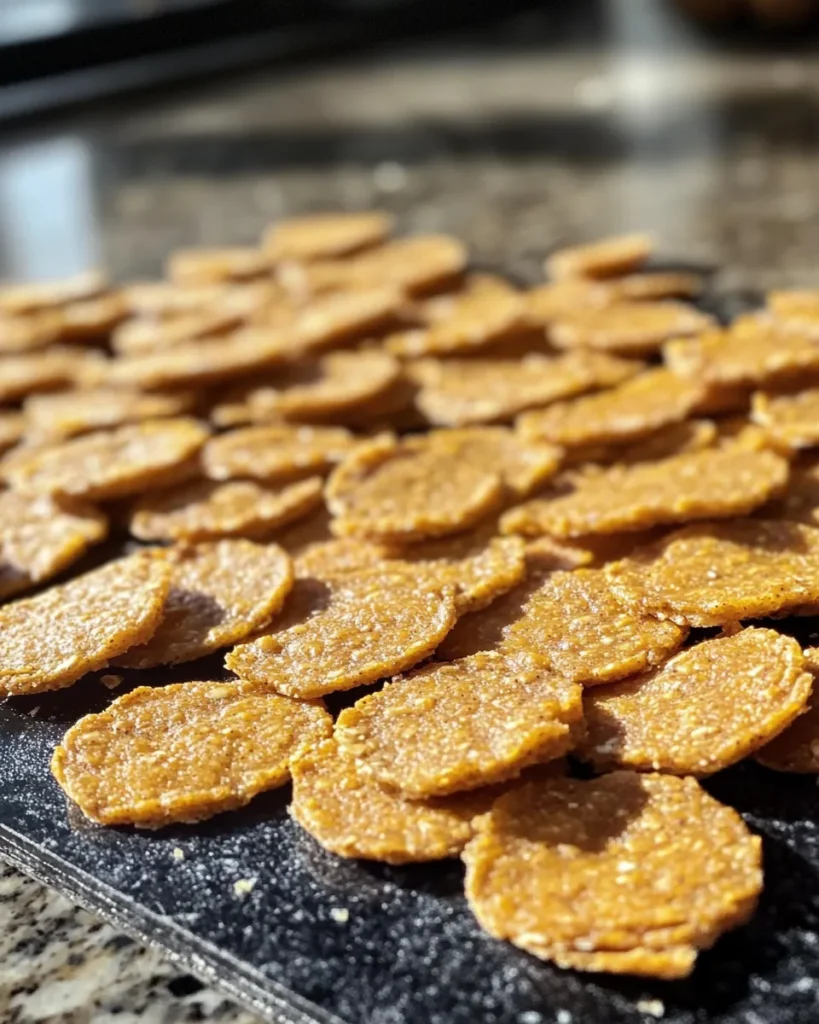
Once the dough has reached the right consistency, lightly flour your work surface and roll out the dough to about 1/4-inch thickness. The thinner you roll the dough, the crunchier the chips will be. You can use a cookie cutter to create fun shapes, or if you prefer simplicity (and less waste), a pizza cutter or knife will work just fine to cut the dough into small, chip-sized pieces.
Step 5: Bake the Chips
Arrange the cut dough pieces on your prepared baking sheets, leaving a little space between each one to allow for even baking. Place the baking sheets in the preheated oven and bake for 20 to 25 minutes, or until the chips are golden brown and crispy. If your dog prefers extra-crunchy treats, you can leave them in the oven for a few more minutes, but keep an eye on them to prevent burning.
Step 6: Let the Chips Cool
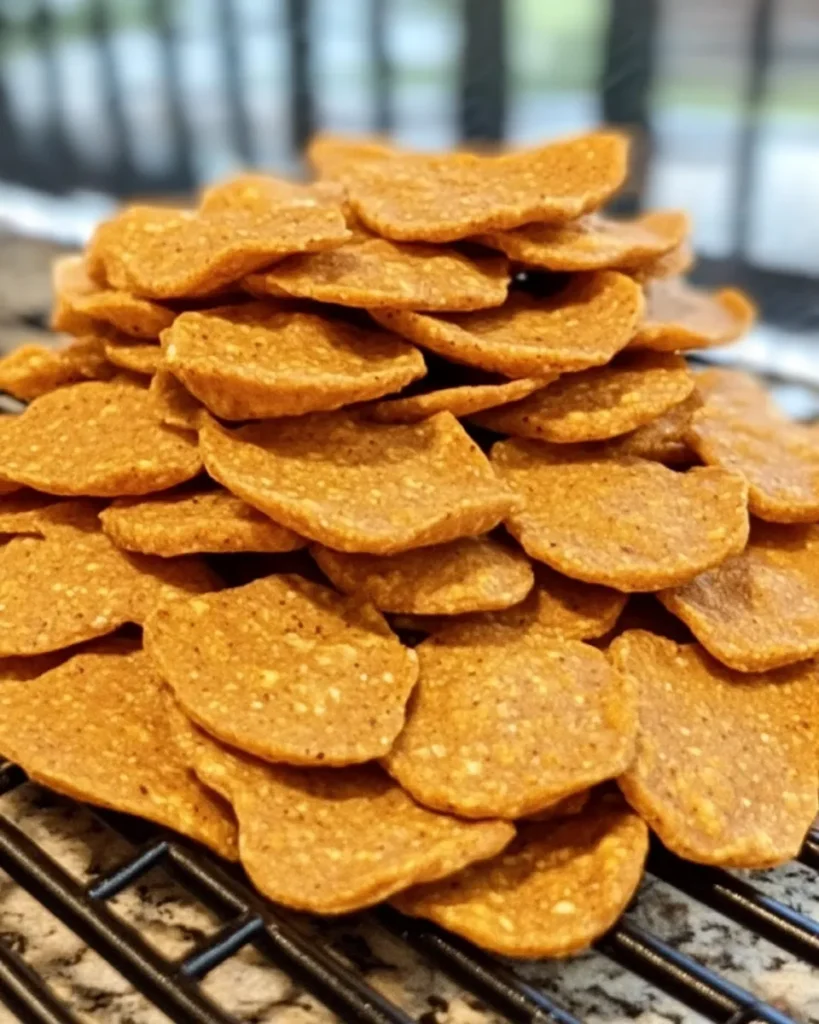
Once the chips are done baking, remove them from the oven and let them cool completely on a wire rack. This step is important, as the chips will continue to harden as they cool, achieving that perfect crunch dogs love. Be patient—your dog might be eagerly waiting, but the chips will be worth it!
Storing and Serving the Chips
After the chips have fully cooled, store them in an airtight container. They should stay fresh for about 1-2 weeks, depending on the humidity in your area. If you want to keep them longer, you can freeze the chips for up to 3 months and thaw them as needed. The freezer is a great option if you’re making a large batch and want to have treats on hand for an extended period.
When it’s time to serve, simply offer a few chips to your dog as a snack or reward. They make an excellent crunchy treat for training sessions, or you can crumble them over your dog’s food for a little extra flavor. However you serve them, your pup is sure to go wild for these tasty peanut butter & pumpkin chips.
Customization Tips for Picky Eaters
While this recipe is a favorite among most dogs, you can easily tweak it to accommodate your dog’s tastes or dietary needs. Here are a few ways to customize the chips:
- Add a Banana Twist: For an extra boost of sweetness and potassium, mash in half a banana with the pumpkin and peanut butter. This will give the chips a slightly softer texture and make them even more irresistible for dogs who love fruit. You can also check out this recipe for Banana and Honey Biscuits for Dogs if your dog can’t get enough of bananas!
- Boost the Fiber with Oatmeal: If your dog could use a little extra fiber in their diet, consider adding 1/4 cup of oats to the dough. Oats are a great source of soluble fiber and can help keep your dog’s digestive system running smoothly.
- Make it Chewy: For dogs who prefer softer treats, you can reduce the baking time slightly to create a chewier chip. Bake for about 15-18 minutes instead of the full 20-25 minutes. This way, the chips will still be firm but have a bit of give when bitten into.
- Go Grain-Free: If your dog is sensitive to grains, you can easily make these chips without wheat flour. Simply substitute the whole wheat flour with coconut flour or almond flour. Just keep in mind that you may need to adjust the amount, as these flours absorb liquid differently. You may need less coconut flour or a little extra water to achieve the right dough consistency.
Why Homemade Treats Are the Best for Your Dog
In a world full of pre-packaged dog
treats with ingredients you can’t pronounce, making homemade treats is a wonderful way to ensure your dog is getting the best. When you make your dog’s treats at home, you have full control over what goes into them. No preservatives, no artificial flavors—just wholesome, natural ingredients that contribute to your dog’s overall well-being.
Homemade treats like these peanut butter & pumpkin chips are also an excellent way to bond with your dog. The smells of fresh baking can excite their senses, and knowing that you’re preparing something special for them can strengthen the connection you share. Plus, when you bake at home, you can cater to your dog’s specific needs, whether it’s avoiding allergens, managing weight, or simply spoiling them with their favorite flavors.
More Delicious Dog Treat Recipes to Try
Once you’ve mastered these peanut butter & pumpkin chips, why stop there? Your dog will love a variety of homemade treats, and there’s no shortage of recipes to explore. Here are a few more to add to your dog’s treat rotation:
- Delicious and Nutritious Oatmeal Cookies for Dogs: Packed with fiber and healthy carbs, these cookies are perfect for an afternoon snack.
- Blueberry Pumpkin and Oatmeal Chews for Dogs: A sweet and chewy option for dogs who love fruity flavors.
- Bull Penis Dog Treats: For dogs that enjoy high-protein, savory treats with a chewy texture.
- Pumpkin Pupsicles for Dogs: A refreshing treat, especially great for warm weather.
No matter what your dog’s preferences are, there’s a treat out there that’s perfect for them. By experimenting with different ingredients and textures, you’ll discover what makes your pup’s tail wag the hardest. And for more inspiration, don’t forget to check out My Dog Recipe on Pinterest for tons of treat ideas and DIY projects to try at home.
Final Thoughts: Treat Your Dog Right with Homemade Goodness
Making treats for your dog at home is more than just about providing food—it’s about showing love and care. With this easy recipe for Peanut Butter & Pumpkin Chips, you can rest assured that you’re giving your dog something that’s not only tasty but also healthy. These chips are packed with the goodness of peanut butter and pumpkin, offering a crunchy delight that’s perfect for snacking, training, or just spoiling your dog a little extra.
So why not try this recipe out today? You’ll feel good knowing you’re feeding your dog something wholesome, and your pup will thank you with lots of love (and probably some enthusiastic tail wags!). Don’t forget to explore more homemade dog treat recipes on My Dog Recipe for endless inspiration.
Print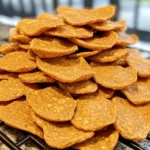
Crunchy Peanut Butter & Pumpkin Chips for Dogs: A Recipe Your Pup Will Adore
- Total Time: 35 minutes
- Yield: About 40 small chips 1x
Description
Crunchy Peanut Butter & Pumpkin Chips for dogs are the perfect homemade treat packed with fiber, healthy fats, and protein. Using natural ingredients like pumpkin puree and peanut butter, this recipe is easy to make and provides a wholesome snack that your dog will love. These chips are crunchy, flavorful, and ideal for dogs who enjoy a crispy treat. Perfect for training or just spoiling your furry friend.
Ingredients
- 1 cup pumpkin puree (plain, no additives)
- 1/2 cup natural peanut butter (unsweetened, unsalted)
- 2 cups whole wheat flour (or oat flour for gluten-free)
- 1 tablespoon olive oil (optional for added crunch)
Instructions
- Preheat the oven to 350°F (175°C). Line two baking sheets with parchment paper.
- In a large mixing bowl, combine pumpkin puree and peanut butter. Stir until smooth.
- Gradually add the flour, mixing continuously until the dough forms. If needed, add a little water.
- Roll the dough on a floured surface to 1/4-inch thickness.
- Use a knife or cookie cutter to shape the dough into small chips.
- Place the chips on the baking sheet, leaving space between each one.
- Bake for 20-25 minutes until golden and crisp.
- Let the chips cool completely before serving to your dog.
Notes
- Store the chips in an airtight container for up to 2 weeks or freeze for up to 3 months.
- You can substitute the whole wheat flour with almond or coconut flour for a grain-free option.
- For a softer treat, reduce the baking time by 3-5 minutes.
- Prep Time: 10 minutes
- Cook Time: 20-25 minutes
- Category: Dog Treats
- Method: Baking
- Cuisine: Dog-Friendly
Nutrition
- Serving Size: 2 chips
- Calories: 40 kcal
- Sugar: 0.5 g
- Sodium: 0.5 g
- Fat: 0.5 g
- Saturated Fat: 0.5 g
- Unsaturated Fat: 0.5 g
- Trans Fat: 0.5 g
- Carbohydrates: 0.5 g
- Fiber: 0.5 g
- Protein: 0.5 g
- Cholesterol: 0.5 g
Keywords: Peanut Butter & Pumpkin Chips for Dogs, homemade dog treats, crunchy dog snacks

